Electric fence installation: survey, posts, earthing and commissioning
Installation follows 8 stages: survey, posts, wire, earthing, cabling, commissioning, handover. Terminal posts are ≤100 m apart, earth resistance is <10 Ω, and every zone is tested at its far end; a 500 m wall typically takes 2–4 days for mechanical work and 1 day for commissioning.
An electric fence installation is decided long before the first post is fixed. The host, wire and insulators are catalogue items; the reliability of the perimeter comes from the survey, the set-out, the earthing and the order in which the work is done. Most return visits on a new fence trace back to a mounting or earth detail, not to the energizer.
This guide follows the sequence used for a pulse fence; the same order applies to tension, fibre and beam layers that share the boundary. The two tables give the order of work and the tests that must be recorded before handover.
What should the site survey record before installation?
The survey fixes the drawing. Walk the boundary and record every corner and change of wall height, every gate and its swing, culverts and drainage paths, vegetation that will grow into the wires, and the places where power and network can enter. Photograph each corner with a tape measure in the frame; the photograph settles arguments later.
Check the mounting surface at the same time: wall thickness, coping, render condition and whether the block is solid or hollow. Note the ground along the line for post foundations, access for ladders and small plant, and the public side of the boundary. Power should reach the host as a dedicated supply with room for a backup battery; the network route, whether RJ45 or RS485, should be drawn before any conduit is buried. Anything missed here becomes a variation during installation.
How do you set out terminal posts and wire heights?
Terminal posts belong at zone ends, corners and both sides of a gate, with a maximum span of 100 m between terminal posts. Bearing posts follow at 20–25 m and intermediate posts at 4–5 m. Set out from the corners first and work toward the middle; measuring from one end accumulates error until the last post no longer lines up.
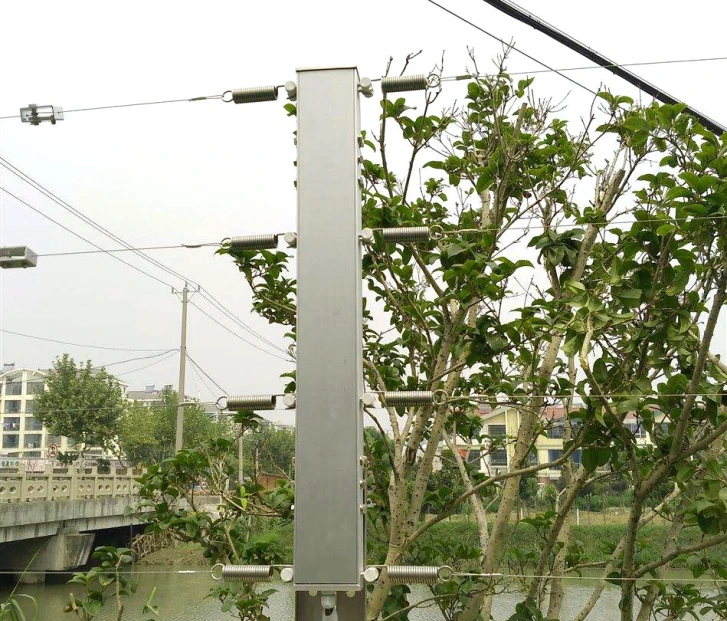
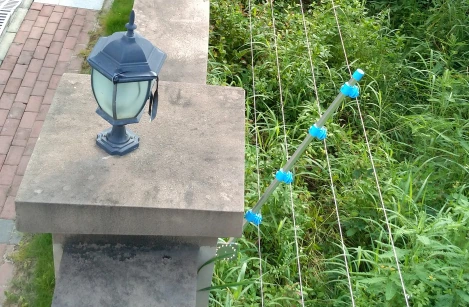
Wire height is a safety decision before it is an aesthetic one. The lowest live wire must be out of reach from the public side, and local rules may set a minimum. On a wall-top four-wire fence, 100–150 mm vertical spacing is a common starting point; a six-wire fence adds a wire and can use a tighter spacing. Keep at least 30 mm between the alloy wire and other metal, and 200 mm from plants. Tension the wires equally, use springs or tensioners to absorb thermal movement, and never over-tension a terminal post to remove a sag that comes from a wrong set-out.
Where should cable routes and zone boundaries go?
Break zones at features the guard can see: corners, gate posts, building lines and changes in wall height. A zone that crosses a gate will alarm on every delivery, so terminate at a fixed post beside the opening and protect the gate leaf with a contact or a separate beam. Keep zone length within the response distance, not only within the cable drum.
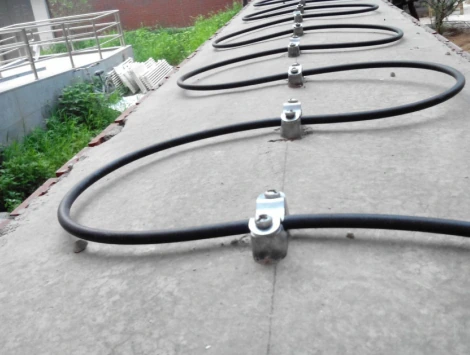
Run the high-voltage lead in its own conduit, separated from mains and from the RS485 cable. Use twisted-pair shielded cable for RS485, daisy-chained rather than star-wired, and leave a service loop at each terminal post. Seal conduit ends against water and rodents, and mark the route on the as-built drawing before backfilling. The high-voltage lead and the communication lead must never share a conduit.
How should the fence be earthed and protected?
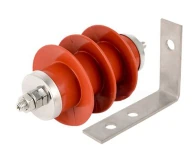
Fit one or two high-voltage arresters near the host for each zone, bond them to a dedicated earth electrode with 6–16 mm² copper, and work to the below-10 Ω target stated in the product data. Do not bond the fence earth to the building lightning protection system without the electrical designer’s approval; the two systems have different purposes and different test routines.
Keep arrester leads short and straight, with no sharp bends. Measure the earth resistance at commissioning, after any nearby lightning strike and after earthworks near the electrode. If the reading rises, add a rod or improve the soil contact; tightening the terminal is not a fix. A fence that still alarms after a storm may already have lost its protection path.
How do you fix posts on walls and soft ground?
On a wall, fix brackets into the structural masonry or concrete, not into render. Terminal posts carry the highest load, so use chemical anchors or through-bolts; hollow block usually needs a steel frame or a move to ground posts. Check that the coping can take the drilling and that water cannot enter the wall through the fixings.
On soft ground, set posts in concrete below the local frost line, with a compacted base and the post plumb. Brace terminal posts on long straights and re-check them after the first month. A post that moves by a few millimetres changes wire tension and creates slow false alarms that no sensitivity setting will cure.
What is the correct installation sequence?
Civil and mechanical work comes before electronics. Posts are set and cured, conduits are buried and the earth electrode is installed before the host is energised. Wire is pulled after the posts are stable, and the fence is commissioned only when the wall, gates and landscaping are finished. Changing this order is the usual source of rework.
| Stage | Decision | Check |
|---|---|---|
| Survey and set-out | Zone breaks, gate terminals, post positions | Drawing marked and photographed |
| Post foundations | Wall bracket or ground footing | ≤100 m at terminals; posts plumb |
| Buried routes | Power, RS485 and high-voltage separation | Conduit size, bends, pull cord |
| Earthing | Electrode position and bonding | <10 Ω before host connection |
| Posts and insulators | Wire count and height | 30 mm to metal; 200 mm to plants |
| Wire and tension | Tensioner and spring setting | Equal tension; no kinks |
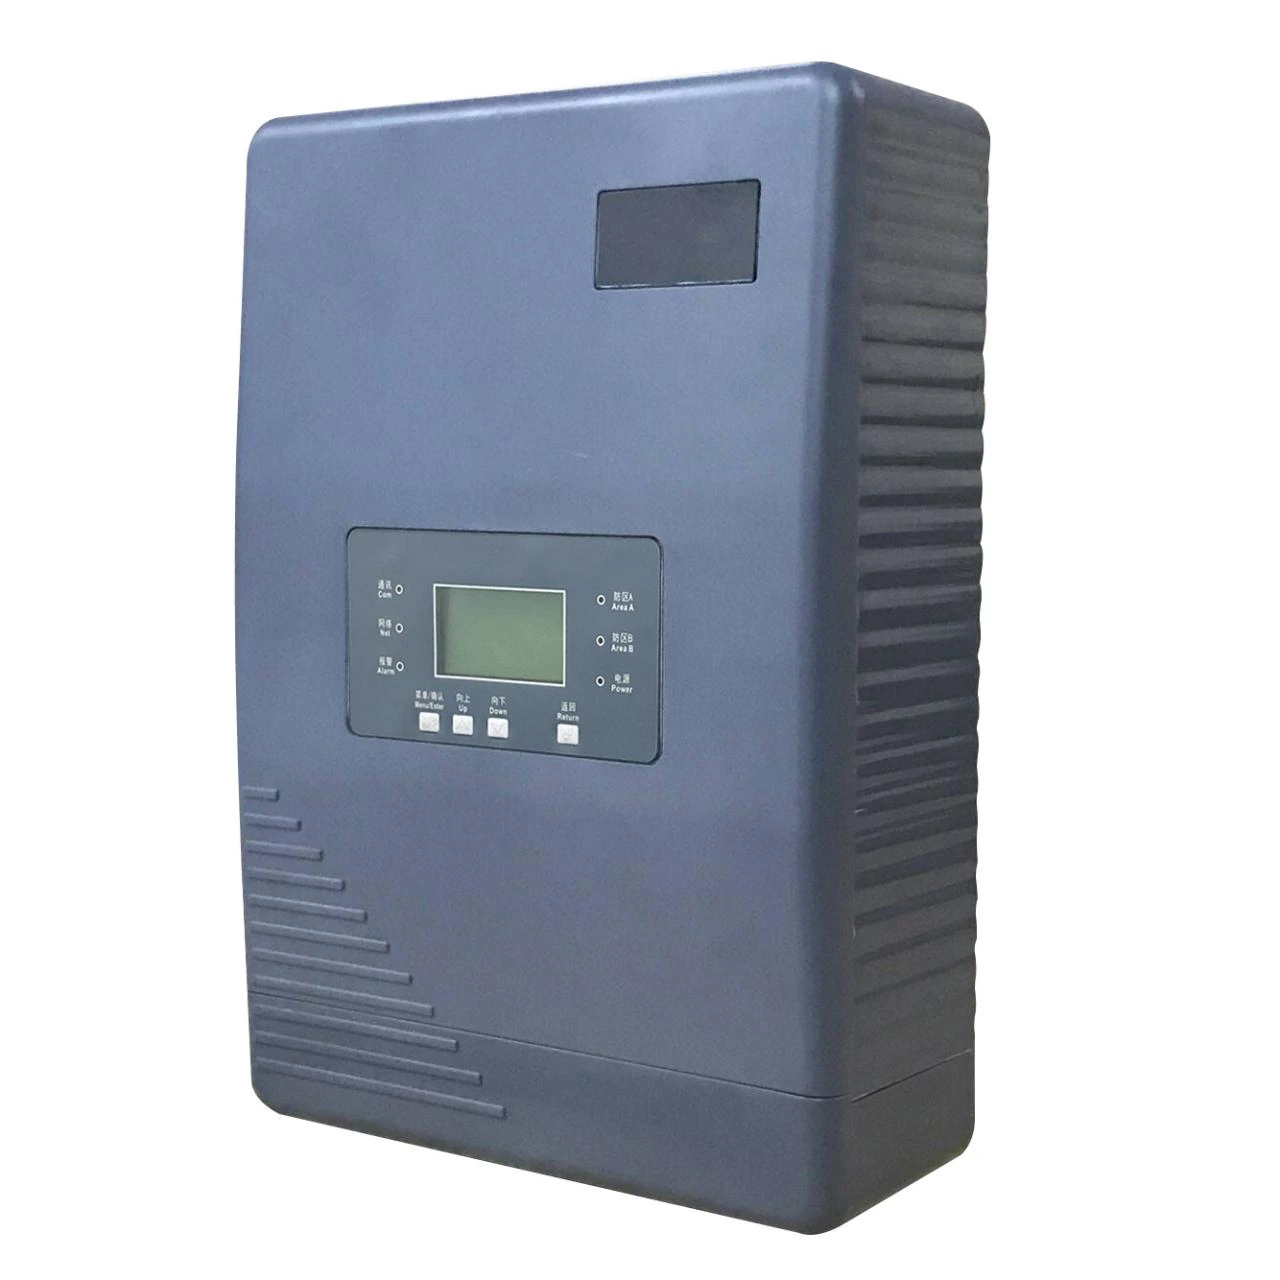
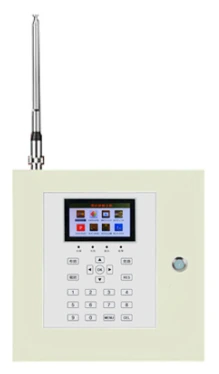
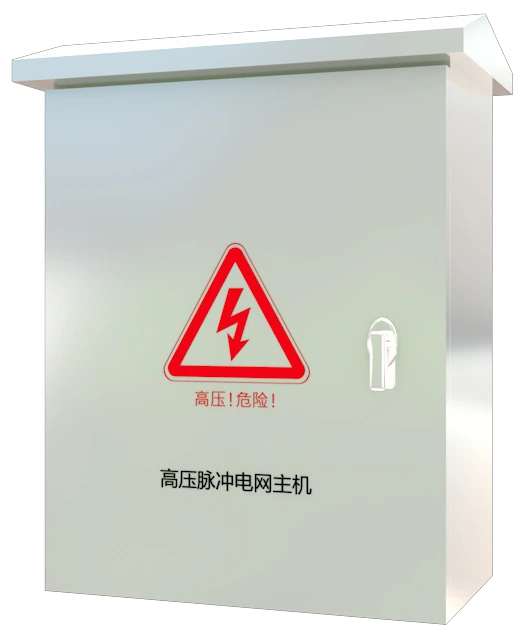
| Host and arresters | Enclosure out of public reach | Battery, siren and relay tested |
| Zone configuration | Addresses and zone names | Map, platform and camera preset agree |
| Commissioning | Tests and records | Signed checklist with values |
How do you commission an electric fence?
Commission from the far end. For every zone, create an open circuit and a short circuit at the farthest point and confirm the host, the platform and the siren report the correct event. Measure the pulse voltage at the far end with a fence tester and compare zones; a large difference points to a joint, a leakage path or a damaged insulator.
Then test the earth with the fence disconnected, the insulation with the host and arresters isolated, the tamper switch, the power-loss alarm and the battery backup. Walk the line at night with the zone map and trigger at least one point per zone. Record every value, the instrument used and the time; a commissioning sheet that says only “tested” is not a record.
| Test | Target | Instrument |
|---|---|---|
| Earth resistance | <10 Ω | Three-point earth tester |
| Insulation to earth | No leakage path; stable reading | 500 V insulation tester |
| Far-end pulse | Within host output class; zones comparable | High-voltage fence tester |
| Open circuit | Alarm at host and platform | Insulated test lead at far end |
| Short circuit | Alarm at host and platform | Fused jumper at far end |
| Tamper | Tamper event, not intrusion | Enclosure key |
| Power loss | Loss event; fence stays armed | Mains switch and timer |
| Clearance and signage | 30 mm to metal; sign every 10 m | Tape measure and visual check |
| Response chain | Siren, camera, map and guard acknowledge | Stopwatch and radio |
What belongs in the handover file?
The handover file should contain the as-built drawing with post numbers and cable routes, the earth electrode location, the zone map with the names used by the guard, the commissioning values, the manuals and the training record. Add the location of every arrester and the isolation point for each zone.
Plan the first year of maintenance before leaving site. Re-check tension and post stability after one month, clear vegetation before the growing season, test the earth after any nearby lightning, and repeat the full checklist annually. The fence does not become reliable at handover; it becomes reliable when the first inspection is actually done.